Saturday, 10 April 2010

Not going to be easy...

Well, in my infinite wisdom I decided to put a bit more time into this project late on a Saturday night after a few bottles of cider. All things considered I've come out of it relatively unscathed.

First things first, as this is such a nice monitor I wanted to see if I could get away with keeping it in its original casing, but a quick check on top of the unit after removing the stand showed it was just too big:

Photobucket

It was then that I somewhat rashly decided to set about removing the casing, to see if there was any way of minimising the width...

A few tense minutes later and we have this (excuse the blurry photo!):

Photobucket

Unfortunately the shielding extends all the way to the bottom of the monitor where the control PCB is:

Photobucket

Managed to fiddle around removing screws and a very tricky ribbon cable to get the PCB out of the way and get a better look at the offending piece of metal:

Photobucket

I thought about using a router to remove some of the inside of the IKEA unit to allow it to fit, but I would need to remove 17mm, which is about the thickness of the wood so that's a no. My other options are to cut away the piece entirely, which is going to be tricky without damaging the TFT, or bending it, which is also going to require some cuts. That's going to have to be a more sober decision I think.

What I did do, however, was to hook up the monitor for a little testing, albeit off to one side in the cab. I removed the top of the unit and hooked up the panel to my netbook, plugged it in and lay it flat on top of the closed drawer. Got MAME up and running and all looks good:

Photobucket

Photobucket

Then, I opened up the smoked glass panel and laid it over the top, looked fantastic with Pac Man running in it, shame I couldn't have the drawer open for my stick to rest on, would probably still be playing now!

Photobucket

Photobucket

After I packed everything away, tried out the glass panel on top of the unit, it looks pretty good but the white shows up a lot. When the unit is all done I'll need a layer of black paper with a bezel cut out so the screen blends in a bit more when not in use.

Photobucket

So, an eventful evening. I think I needed to be a little drunk to have the confidence to start pulling such a great little monitor apart. Well, more a great big monitor really.

Friday, 9 April 2010

Just been playing some R-Type Leo and Pulstar on this screen and it's absolutely stunning.

:D
Went to collect my monitor tonight. 60 mile round trip, but well worth it. Following a recommendation (thanks Matt) I had been looking for an EIZO monitor for this project. Spotted one on eBay that looked like it might be what I need and took a punt on it. The spec in the listing said it was an Eizo, but info in the listing was limited. It was just listed as "19 inch flat panel monitor". My winning bid was £26, and now I have the moniotor in my posession I can safely say it was a bargain. It's a 19" Eizo FlexScan L767 and it's in perfect condition. Picture and colour quality is rock solid. DVI-in, VGA-in, USB and 3.5mm connections, ability to adjust smoothing for a much nicer pixelly look in MAME, response time is good, I'm delighted with it. Seems a shame to put it in a cab; in fact I'm thinking of alternative ways of mounting it in the unit now without decasing it.

The murky light in here doesn't help for photos, I'll get some more up tomorrow.

Photobucket

Photobucket

Thursday, 8 April 2010

Been holding off on this project since deciding to get a 4:3 monitor instead of my widescreen one. Won an eBay auction this morning for a 19" one, still waiting on a reply from the seller but hoping to pick it up soon.

Monday, 5 April 2010

Checking sizes

Main unit fits the SFIV stick quite neatly on the open top drawer. This will do nicely at first, so I'll get the screen mounted first. Popped the monitor on top just to double check it wasn't too big.

Photobucket

After that, I put the glass on top just to get a rough idea of how it will look, should be much better to have the screen a little lower like that.

Photobucket

Next job is to cut a rather tricky hole out of the top; it needs to be rebated so that the top 15mm of the aperture is the same size as the TFT screen, but the rest is about 5mm or so further in to act as a support for the screen. That's the plan anyway ;)

MALM 2-drawer unit

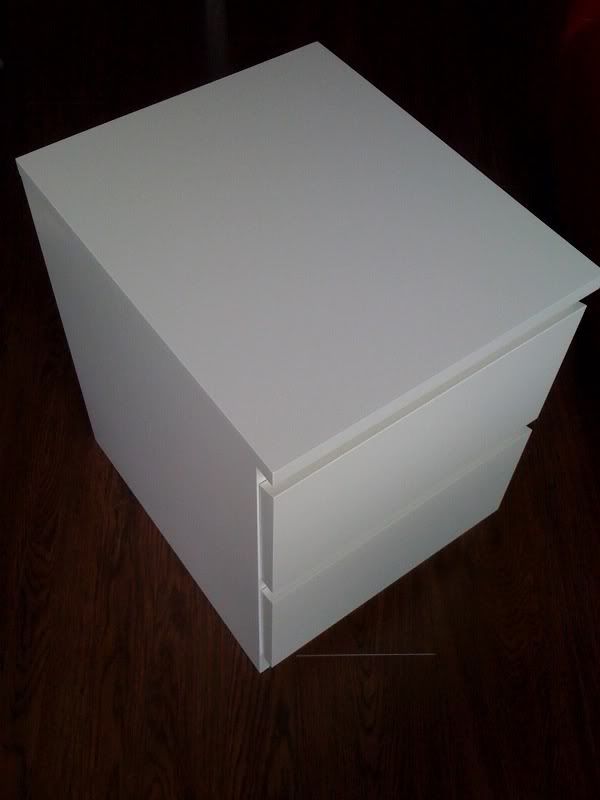
Got up early this morning and put the main unit together. Looks good, sizes are all fine. Drawer is big enough for my joystick, bottom drawer should be ok to house a small PC or a PS2 easily enough.

Basic ingredients


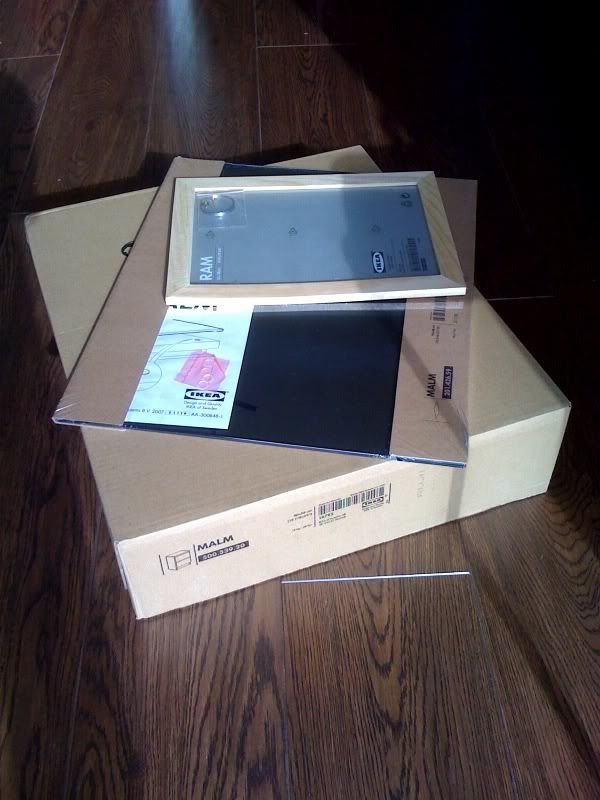
Got the main bits and pieces I needed from Ikea - the MALM 2-drawer unit, smoked glass top and a cheap picture frame so I can nick the plexi from it later if I need it for a joystick CP.


Followers