The IKEA MAME Stealth Cab Experiment

Sunday 17 October 2010

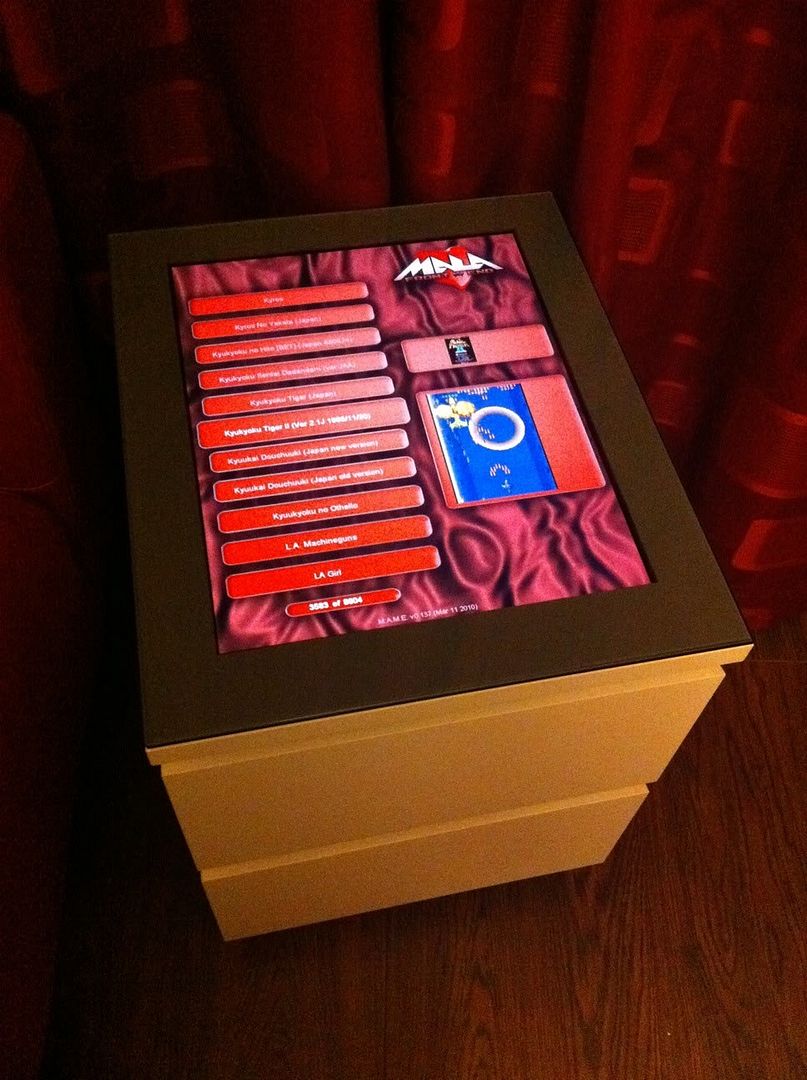
Tried out a few options with castors but it just wasn't looking right, so I left it as it is for now.

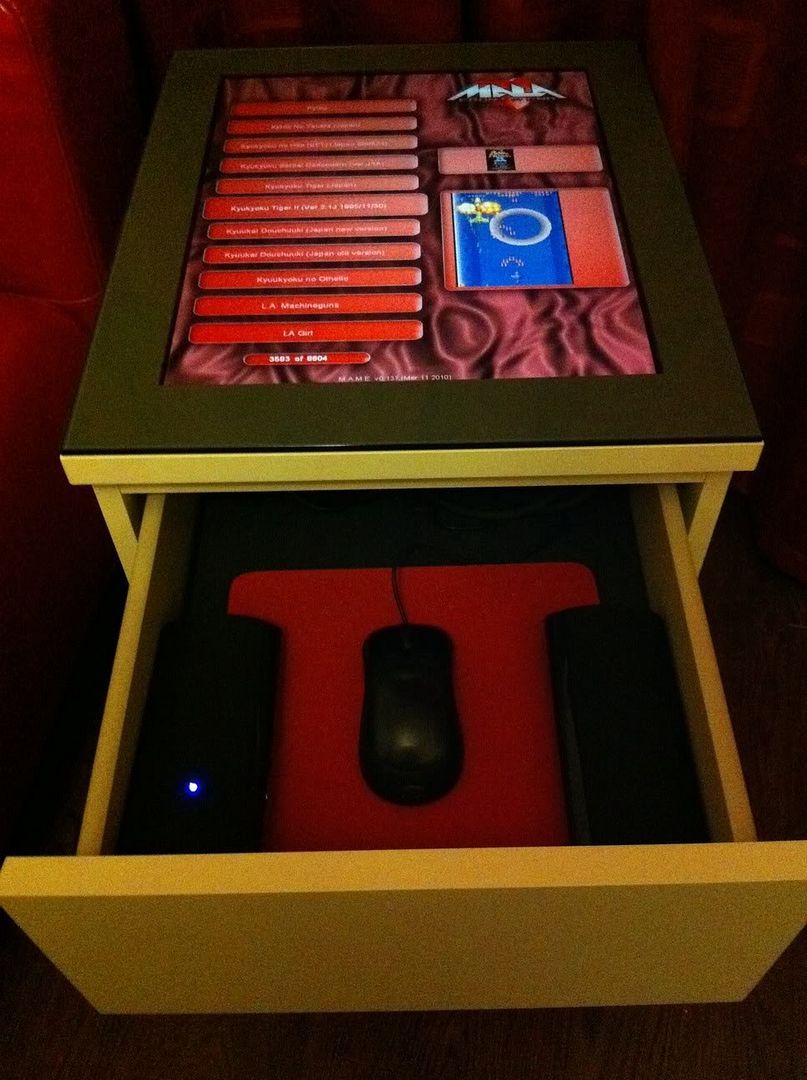
Got the PC all set up, it's running MAME via MaLa and it's running beautifully; 28 seconds from switch on to MaLa game menu.

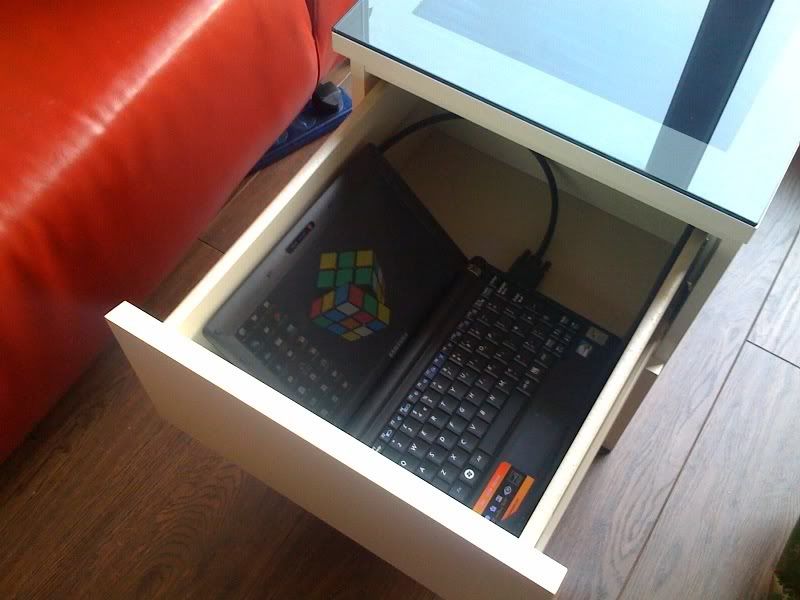
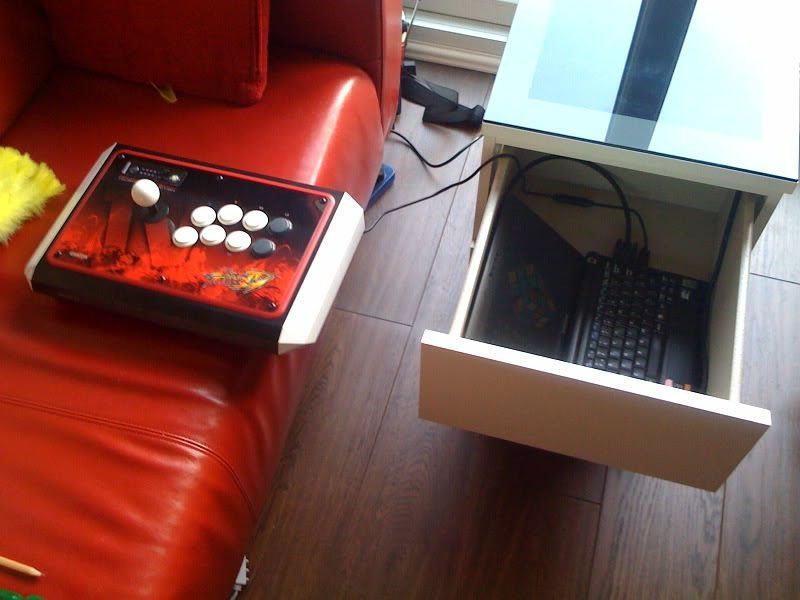
Top drawer contains the PC with speakers, mouse and gamepad. The keyboard is accessible from the lower drawer.

Although I was considering arcade stick type controllers initially, I'm finding it a lot easier using a pad right now, especially if I need to switch orientation for hori games. I'm using a MadCatz SFIV fightpad and it's working brilliantly, going to purchase another for use as the P2Photobucket controls.

Photobucket

Gone with a nice red MaLa layout and red mouse mat to match the decor :)

Speakers are USB powered, the monitor and PC are connected via a "Y" double kettle lead, so the whole unit connects via one mains plug, power on for everything is triggered by the PC power button.

Jobs to do include an external power button and USB socket(s) mounted into the unit for controllers, flash drive etc.
Sunday 10 October 2010

Got guts...

Finally found a PC the right spec and the right size to fit in one of the drawers on the unit. And it only cost £30!

Need to get some castors so the unit's easier to move around, then see if I can get a nice setup of MAME running on it.

More updates, and pics, soon.

Sunday 16 May 2010

Back again! Been busy...

It's been a very busy month and I've had barely any time to myself, so this project was put on hold for a while.

I've been developing a few designs for a purpose built joystick that I'm quite excited about, but that's a huge job in itself.

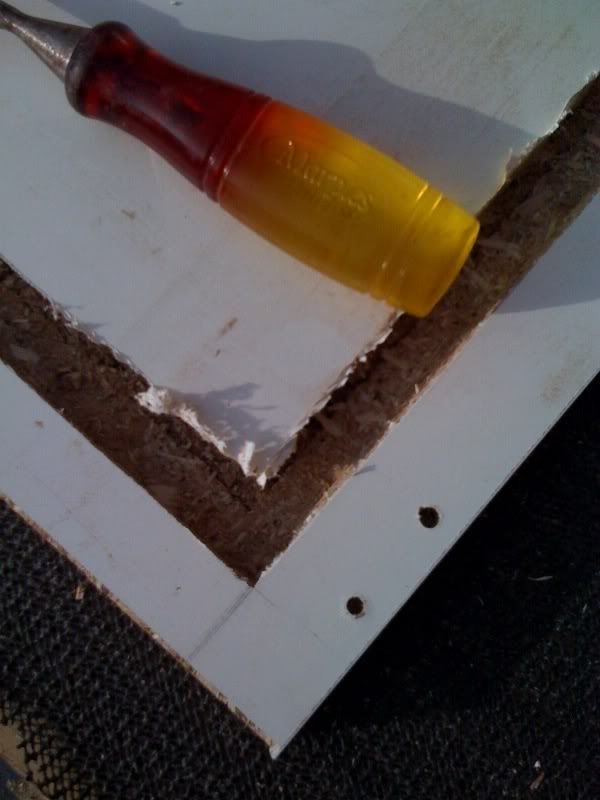
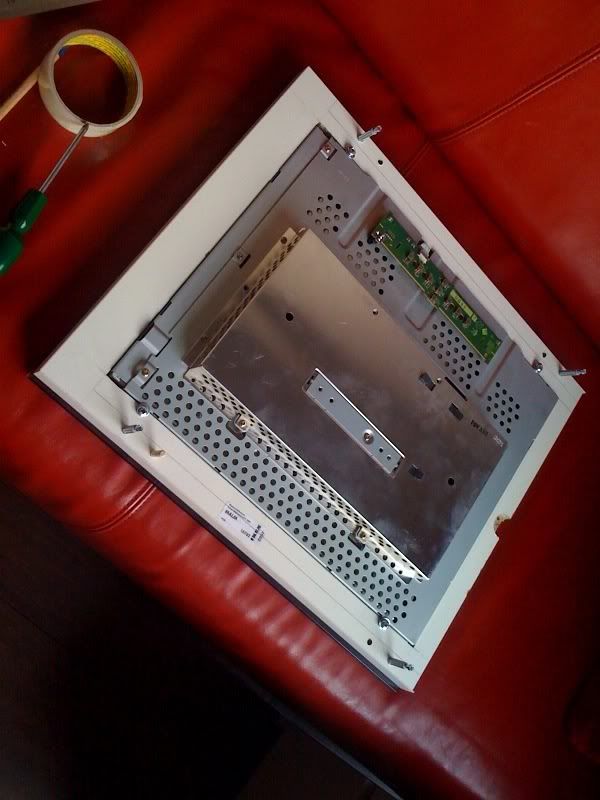
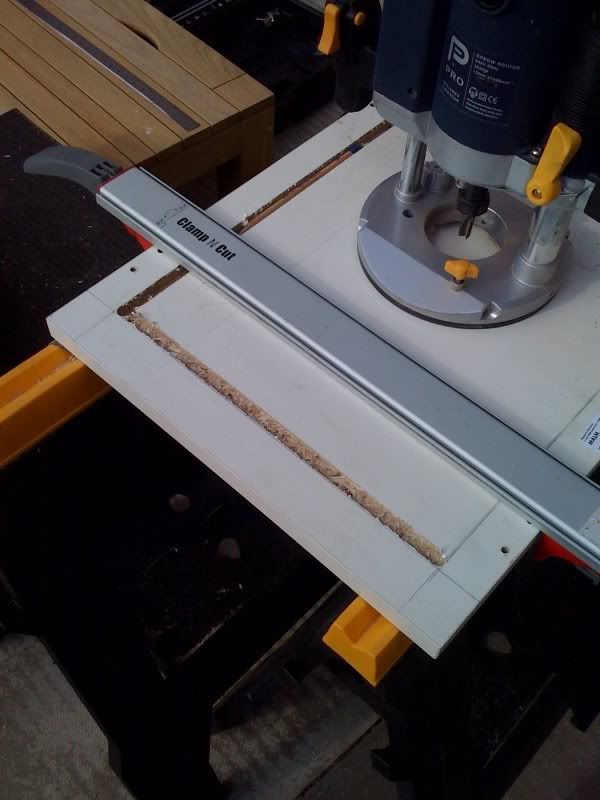
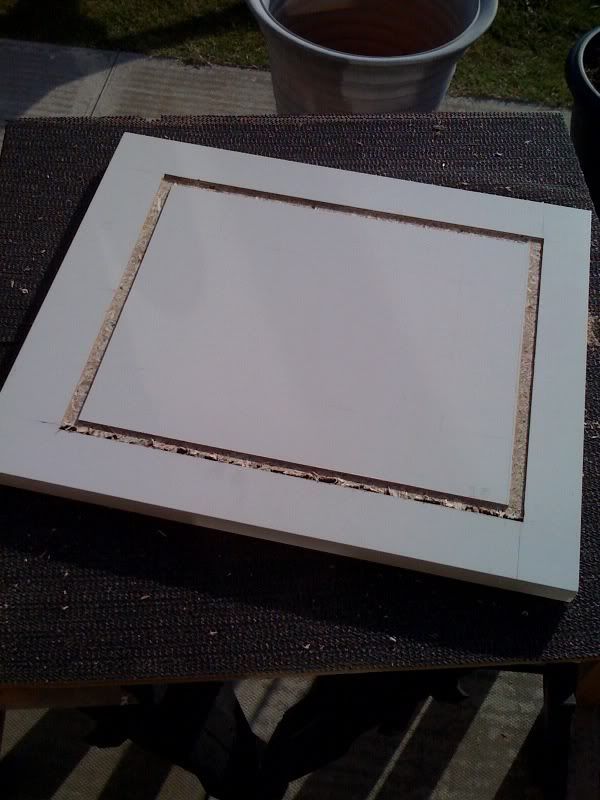
Today I finally got round to mounting the monitor. Once the TFT had been removed from its shell and I'd cut the surplus matal off the frame, I needed to cut a section out of the tabletop to house the monitor. I measured carefully then cut an aperture out of the top, just the right size for the screen. From the back, an aperture big enough for the main unit, set all the way in but stopping a couple of millimetres short of the top. I used a router to do this, I have a guide clamp that helped keep things lined up neatly but the main job was making sure everything was marked out carefully :)

Photobucket

Photobucket

I had to use a chisel to manually remove the corners neatly and also to level off anything the router missed:

Photobucket

The end result gives a nice neat bezel around the screen. I simply placed four screws at the edges with washers to keep the monitor in place.

Photobucket

Photobucket

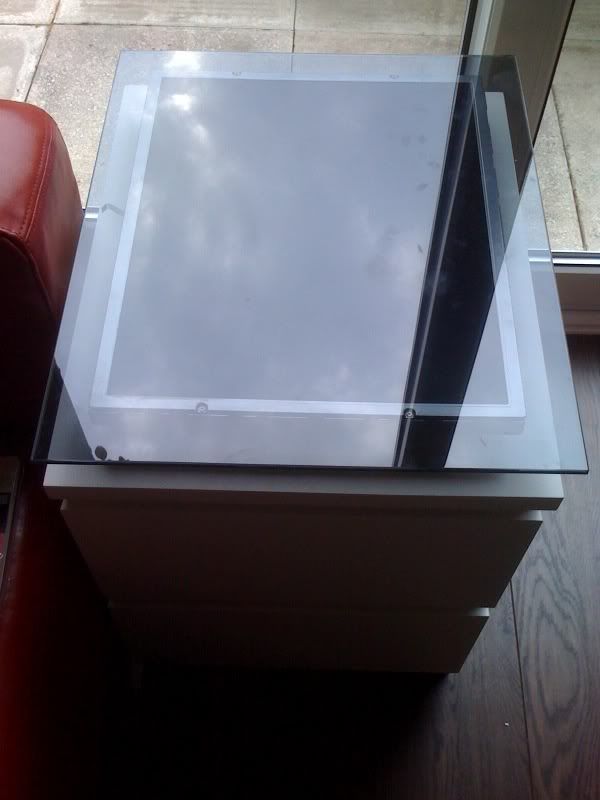
The tabletop with fitted screen:

Photobucket

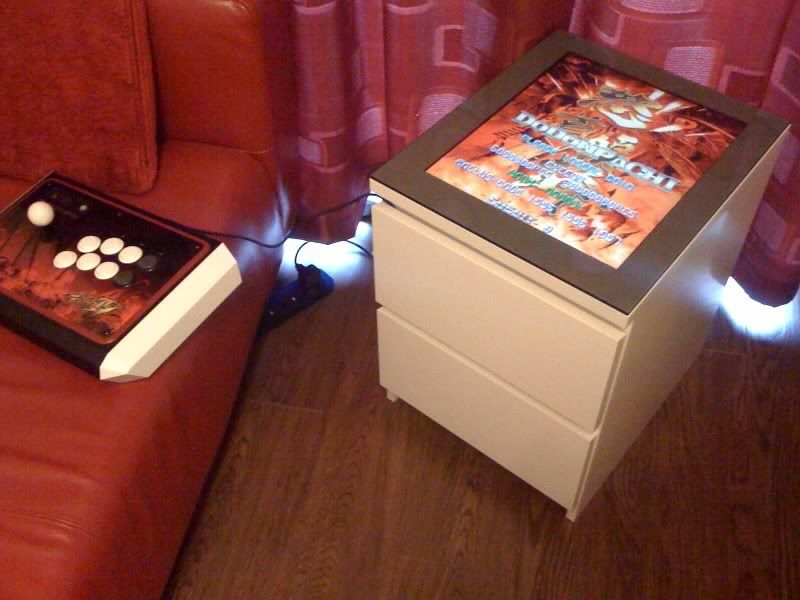
Initial testing is good, it's a nice fit and looks great with the smoked glass on top. I'm planning on painting the top black so the screen blends in a little more stealthily.

There's plenty of clearance for the top drawer and whatever's stored in it, currently my arcade stick, but also plenty of room for my netbook.

Photobucket

Photobucket

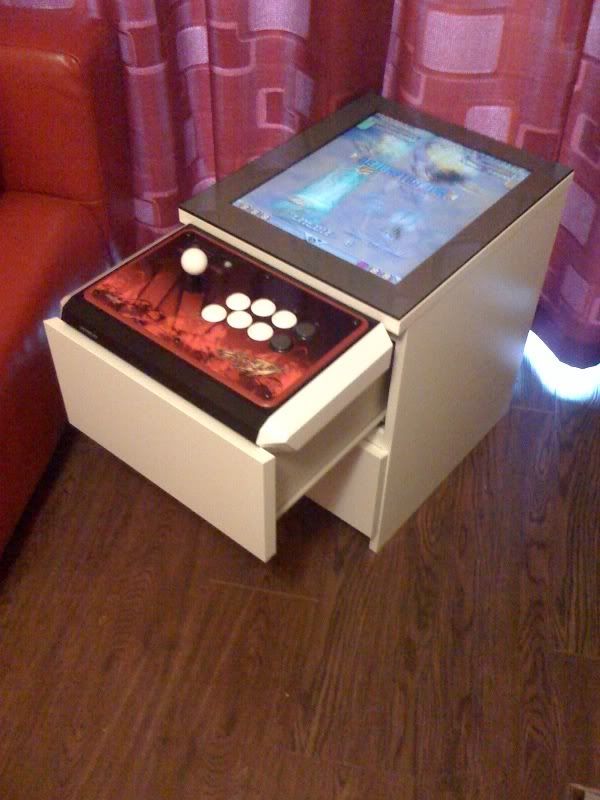
This is essentially phase 1 complete. I originally planned for a unit that would run from my netbook and be operated by my Xbox 360 arcade stick. I can play with the stick resting on the top drawer or on my lap with the drawer closed (mainly for horizontal games)

Photobucket

Photobucket

The more I've got into it, the more I want to adapt it and get it self contained, so next phase is to build a PC to go inside the unit.

Sunday 18 April 2010

Chop there!

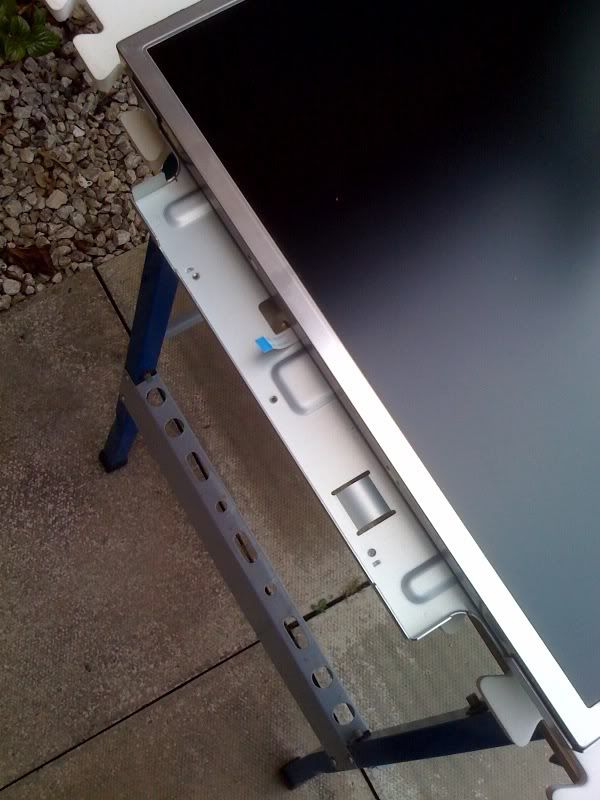
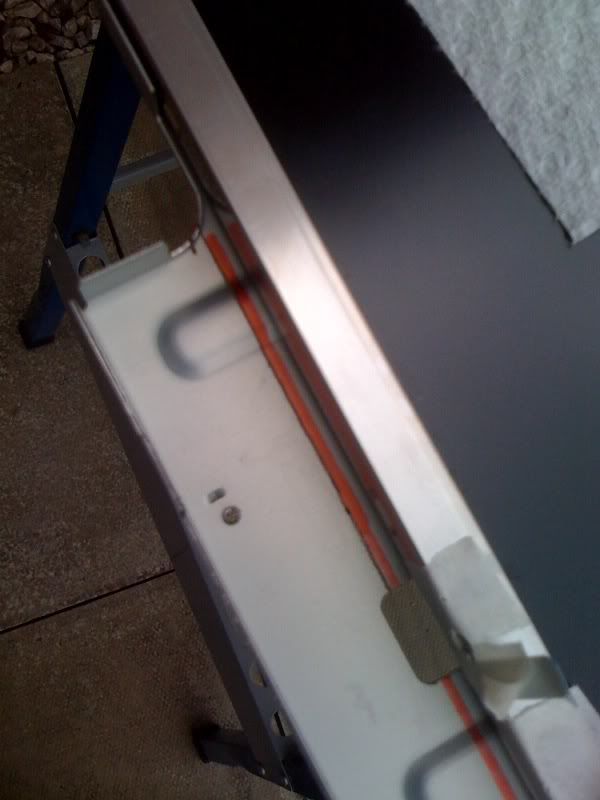
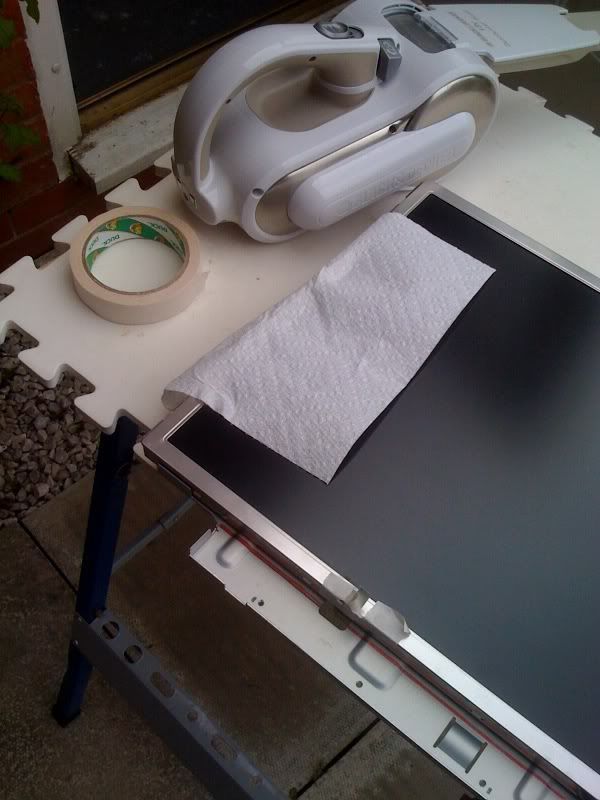
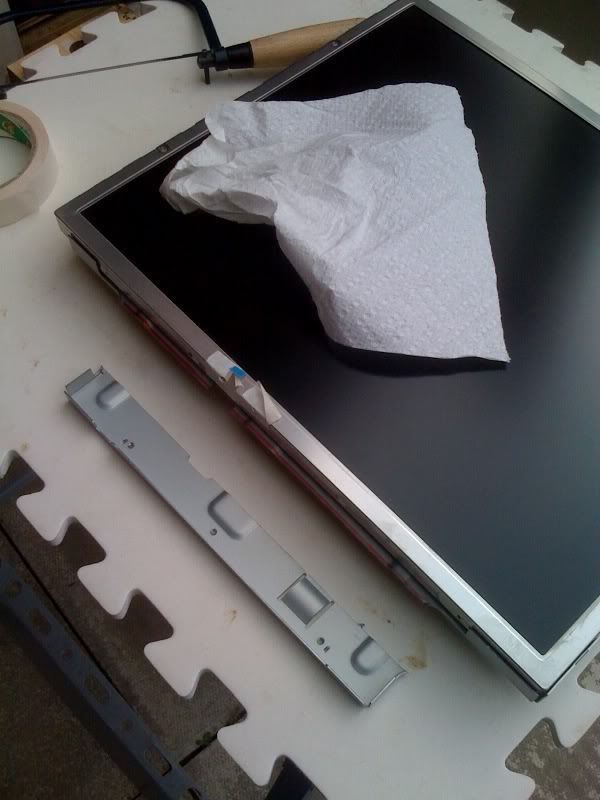
Did the dirty deed this afternoon and removed the offending metal strip from the TFT casing. Didn't want any rogue sawdust, so a dremel or similar was out of the question. Went with a very fine toothed blade on a coping saw in the end, so I could keep the frame out of the way. Marked out with a pen first, then carefully cut a straight line - not so easy with a 3mm blade freehand! Used the dust buster every 10mm or so to prevent any dust build up going inside the housing. Happy with the final result.

The area on the casing to surround the CP, which was getting in my way:
Photobucket

Close up of marking out, and first section cut!
Photobucket

Masking tape to keep the ribbon cable safe, kitchen roll to avoid hand and fingerprints on the TFT:
Photobucket

All done! Phew. My arm hurts.
Photobucket

It fits!
Photobucket

Access to tools!

Spent all day yesterday clearing out the garage so now my workbench and tools are accessible again. Needs a bit more of a tidy and then I can cut off the excess steel from the monitor and set up the router for doing the tabletop.

Heart & Soul

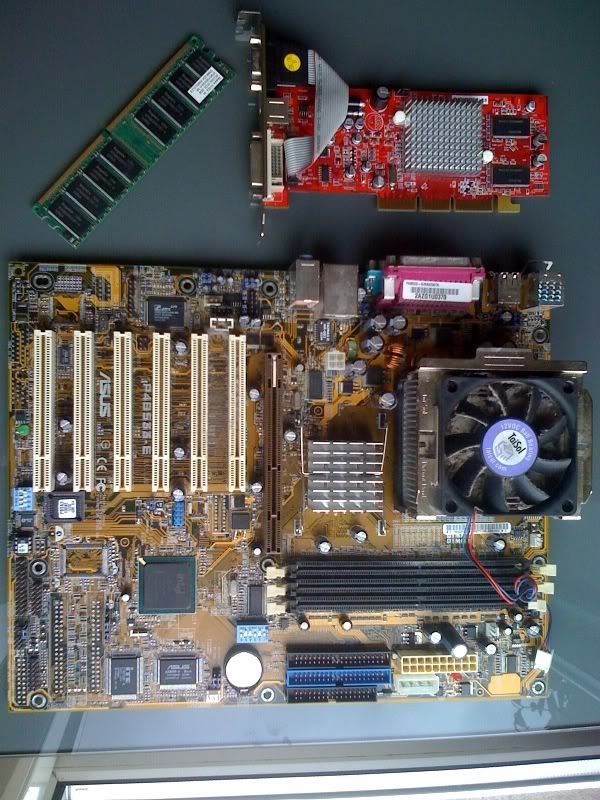
Been considering getting a dedicated PC to use in this cab, but money is tight so I'm keeping the budget as low as possible. Browsing a car boot sale this morning, I picked up an ASUS motherboard with a P4, 128mb RAM and an ATI R9200SE graphics card. 5 quid.

I have other components kicking around so now I should be able to build a nice setup to go into the base of the bottom drawer.

Good cleanup needed first though, it's about 50% dust!

Photobucket

Tuesday 13 April 2010

To chop or not to chop?

Been a busy week so far, but had a chance to take a closer look at the innards of the monitor tonight, particularly the steel casing.

There was a glimmer of hope when I noticed the tabletop was a little wider than the unit overall, which would just about let the screen fit centrally with some careful use of the router. Problem is, the monitor is thicker than the tabletop, so there would need to be a little wood cut from the side of the unit, which would look terrible.

So, off out to the garage for some experimentation - it looks like some very careful sawing could remove the section around the control panel, allowing for an easy central fit on the tabletop. Not doing it tonight though, going to get a few nice fine-toothed blades for my saw first.

Followers